Wednesday, November 28, 2012

Simple Blessings - UPDATE !


I've had a few inquiries if "Simple Blessings" would be sold in MY ETSY SHOP.   I'm happy to report that the flock has multiplied and I now have three pairs of sheep listed.


Each pair of lambs have unique facial expressions and distressing.  Made of Osnaburg Linen, coffee and cinnamon dyed and then hand painted and distressed, they'll make charming shelf sitters and/or bowl fillers for the holiday season and all of the year through.


Loving handmade my ME I've interpreted Stacey Meade of Raven's Haven pattern for Simple Blessings.  You can now find them HERE.
 
Cheers!

Jennifer

I'm linking to these parties:

Common Ground
At The Picket Fence Inspiration Friday

Meet Noel: A Primitive, Folk Art Canada Goose


With sewing machine humming, paint brushes applying paint, distressing tools being used, I've been busy hatching a gaggle of Primitive - Rustic Canadian Geese shelf sitters, just in time for the holiday season.


Each Canada Goose has been lovingly made by ME in Osnaburg linen, coffee and cinnamon dyed and then hand painted and distress. The pattern is designed by Stacey Meade of Raven's Haven. These darling geese wear a rusty bell hung around their necks with twine.


These three geese are ready and waiting for a new winter home and are currently listed for sale in MY ETSY SHOP HERE.
 
Until next time,
Cheers!
 
Jennifer

Linking to:


Monday, November 26, 2012

Bird seed ornaments


The  Mister and I have begun decorating for Christmas, both indoors and outdoors.  This year, I wanted to decorate the trees in the yard with a few festive goodies for the wild birds that are looking for a snack.  What could be better than making simple birdseed ornaments?
 

These wild birdseed ornaments require very few ingredients from your kitchen, whatever cookie cutters you'd like to use, some string or ribbon and you've soon created something to share with nature.


I think these are such fun to make with young ones as well as the young at heart.  An advantage to this "recipe" is that they don't require peanut butter so they won't adversely affect those who have nut allergies.


Have you figured out what the shape of this one (above) is?  Yep!  It is a rooster.  I'm sending this one over to the lady from whom we buy our fresh eggs.  I think she'll get a giggle out of the rooster.
See how few and simple the ingredients are? 


Do you want to make some?  Here is the recipe and easy instructions:
 
 
Bird Seed Ornaments
 
Ingredients:
  • 1 and 1/2 cups of birdseed
  • 1/2 cup water
  • 2 packets of Knox gelatin
  • cookie cutters or even a canning jar rim for a simple circle
  • string or ribbon for the hanger
  • parchment paper or waxed paper to work on and let the ornaments dry
 
Directions:
 
  1. Mix the water and gelatin in a small saucepan and heat to dissolve.  STIR CONSTANTLY until all of the geletin has dissolved.  Then remove the pan from the heat and cool it for a minute or two.  Don't wait too long, though because the gelatin will begin to set.
  2. Next, stir in the  1 1/2 cups of birdseed into the water/gelatin mixture.  If you see that it is still a little "syrupy" or water/gel at the bottom then add a little more birdseed to soak up the extra moisture.
  3. Now the fun begins.  Line a baking sheet with parchment paper or waxed paper.  This will be your work surface.  Press the birdseed into the cookie cutters but filling only to half full.  Cut a piece of string, bakers twine, ribbon (whatever you want to hang your ornaments on) and tie a knot in the end.
  4. Lay the string in the middle of the ornament.  I spread my string out as much as possible in the center and pulled the top up to where it will be exposed giving a more sturdy hanger.  I was fearful that if the string is only at the top that it would pull out of the ornament too quickly before the birds have a chance to eat the whole thing.
  5. Now press more birdseed on top of the string to cover it completely.  If you notice a tiny scrap of parchment paper at the top of the photo below, I used that bit of paper to help me press the birdseed in.  The mixture is sticky and will stick to your fingers, otherwise.  You'll want a nice, smooth surface.
  6. Once you've filled your cookie cutters allow them to dry overnight.  Be sure to turn them over occasionally so they'll dry evenly all the way through and on both sides.
  7. Once the ornaments are dry, carefully removed them from the cookies cutters by pressing them through the cutter.
This recipe made 4 ornaments.  My cookie cutters are large so you could, perhaps get one or two more if using smaller cutters.

Pressing the birdseed/water/gelatin mixture into the cookie cutters and layout out the string:


Voila!  A finished set of ornaments ready to be taken outside for the birds.


I'll be watching my ornaments to see if I can capture some photos of birds enjoying their treat.  Be sure you place your bird seed ornaments in a place where you can enjoy the birds feasting.  This is a fun idea I found on Pinterest HERE.
 
Let Heaven and Nature Sing!
 
Until next time,
Cheers!
 
Jennifer

Sunday, November 11, 2012

Quilted Fabric Ornaments


Over the past couple of years when I've attended holiday craft fairs, I've seen many beautiful quilted fabric ornaments for sale on crafter's tables. These beautiful ornaments, that will run you a pretty penny to purchase, are actually very simple to create at home. The beauty is, THEY ARE NO SEW ORNAMENTS! Yep! You don't have to know anything at all about quilting or sewing to create them.


Each ornament is unique to your own style and color preferences and combinations. They require very little fabric and you can make them as elaborate in design as you'd like. I've created the basic three color/layer star design, but if you were so inclined you could add more layers.


The supply list is not extensive either and very inexpensive. To make these quilted ornaments you'll need:
  • 3" styrofoam ball
  • fabric
  • lots and lots and lots of straight pins with a small flat head (also called sequin pins)
  • hot glue
  • ribbon
  • embellishments of your choosing if you care to decorate further


I had planned to create a tutorial how I made my quilted fabric ornaments but there are so many very good ones already created that I encourage you to Google "Quilted Fabric Ornaments" and you'll find many, MANY sites with instructions. If you enjoy watching it done via a video, here is an excellent video on youtube   http://www.youtube.com/watch?v=OB9S-rxIe6w.

These are the first ones I've made and I am pleased with how they turned out.  They take a bit of time and repetitous pinning and folding and pinning and folding.  This is a great project to work on whilst watching television or put a video in to watch.  Holiday movies are my first preference to keep me in the spirit of the project.  *smiles*

My tree will be filled with an eclectic variety of handmade ornaments but I'm having a great time trying out some old and new crafts.

Until next time,
Cheers!
Jennifer

Saturday, November 10, 2012

Cinnamon Applesauce Ornaments

Remember the cinnamon-applesauce ornaments you or your children made in preschool, girl/boy scouts or as a fun activity at home with the family?   I sure do and since I'm in the process of making handmade decorations for our Christmas tree, I wanted to give this age old technique for making ornaments another try.


The house (and my hands) smell cinnamon-y wonderful! This is probably the best recipe I've used to make these ornaments. And, depending upon the size of the cookie cutter or template you use, you can get anywhere from a dozen to a dozen and a half ornaments from one batch.


One thing to remember is, you can't be in a hurry with these. Of course they are very simple to mix and cut out, but then you must be very patient to let them dry COMPLETELY. You should carefully turn them over during the drying process to insure they are well dried on both sides. I also stuck them in a warm oven at 150 degrees for a couple of hours to speed drying and setting...just be sure to watch them carefully! You aren't baking them! You are merely drying them.


After they are completely dry you can decide if you want to decorate and/or paint them or leave them natural. I really like the brown color and grainy texture of them left plain, but did pull out a couple tubes of Liquid Pearls in red and white to decorate my gingerbread men and a jar of beads and some wire for the stars.


Really a very easy project! They smell wonderful and it is a fun project to involve the kids in...whether youngsters or young-at-heart.

Here is the recipe. I hope you'll give it a try.
 

Cinnamon-Applesauce Ornaments

Ingredients:
  • 1 cup of cinnamon
  • 1 tablespoon of ground nutmeg
  • 1/2 cup of warm applesauce (I warmed the applesauce in the microwave for a few seconds. Be sure to drain excess water)
  • 2 tablespoons of white "school glue".  Elmers works fine
Directions:
  1. Warm up the applesauce in the microwave oven or on the stove top just until warm (not hot!)
  2. Mix all of the ingredients in a bowl and knead to a stiff dough.  You can also put all of the ingredients into the bowl of a stand mixer (I used my kitchenade with a dough hook).
  3. If the "dough" appears too dry, add small amounts more of applesauce just a little at a time.  You don't want the dough to be sticky though.  It should just hold together enough to allow it to keep from falling apart.
  4. Roll out the dough between sheets of foil or parchment paper.  By rolling between the layers of foil or paper you'll get a smooth piece of dough to work with.
  5. Roll it out to 1/4 to 1/2 inch thick.  Do NOT roll too thin.  The ornaments will be delicate and while the thinner you roll them will allow them to dry more quickly, they also will break much easier.
  6. Be patient and allow your ornaments to dry completely.  It may take 24 to 48 hours but you'll be so happy you waited patiently.
Until next time,
Cheers!
 
Jennifer
 

Thursday, November 8, 2012

Simple Blessings


What can I give him, poor as I am?
If I were a shepherd, I would bring a lamb;
if I were a wise man, I would do my part.
Yet what I can I give him--give my heart.


For the past couple of years I've been working on Christmas decorations for the home and tree that are handmade and meaningful.  I love primitive artwork in all mediums and have gotten very interested in primitive soft sculptures.  "Simple Blessings" is one of several different primitive soft sculptures that I've been sewing, stuffing, staining and painting.


Each lamb has a heat set message on one side and the opposite side I left blank.


I can dress them up with a scarf or bell or leave them plain.


I purchased the pattern to make these "Simple Blessings" from Stacey Meade of Raven's Haven.
 

I have several more primitive soft sculptures in the works and will be adding to this flock as well.

I'm honored to say that I was featured on Carolyn's website HOMEWORK:

homework

and on Angie's website KNICK OF TIME


and on Jann's website SHARE YOUR CUP THURSDAY


Cheers!
 

Thursday, October 25, 2012

Pasties!

Probably every country and culture has their own version of a hand held meat pie. It is said that long, long ago coal miner's wives made pasties for their husbands to take into the mine to eat. For tonight's dinner I made PASTIES which is a meat pie filled with beef, root vegetables to include potatoes, rutabaga, carrots, onion, a little garlic and parlsey.  A very simple yet filling meal contained within a flakey pie crust.


My mother used to make these.   Pasties fed our family of seven economically and were chalked full of nutrition.  There is not one set recipe for Pasties.  They can be made with lamb, pork, beef, chicken or even meatless, filling them with apples and root vegetables that you have on hand. 
 
Today I want to share a recipe for  beef and rutabaga and potato filled pasties.
 

The ingredients are simple and basic: an inexpensive cut of beef cut into small cubes, carrots, potatoes, onion, rutabaga and a couple of cloves of garlic.
 

Using my food processer, which makes preparing pasties ever so much simpler, I chopped the onion, carrots and garlic and then used the slicing blade to thinly slice the potato and rutabaga.


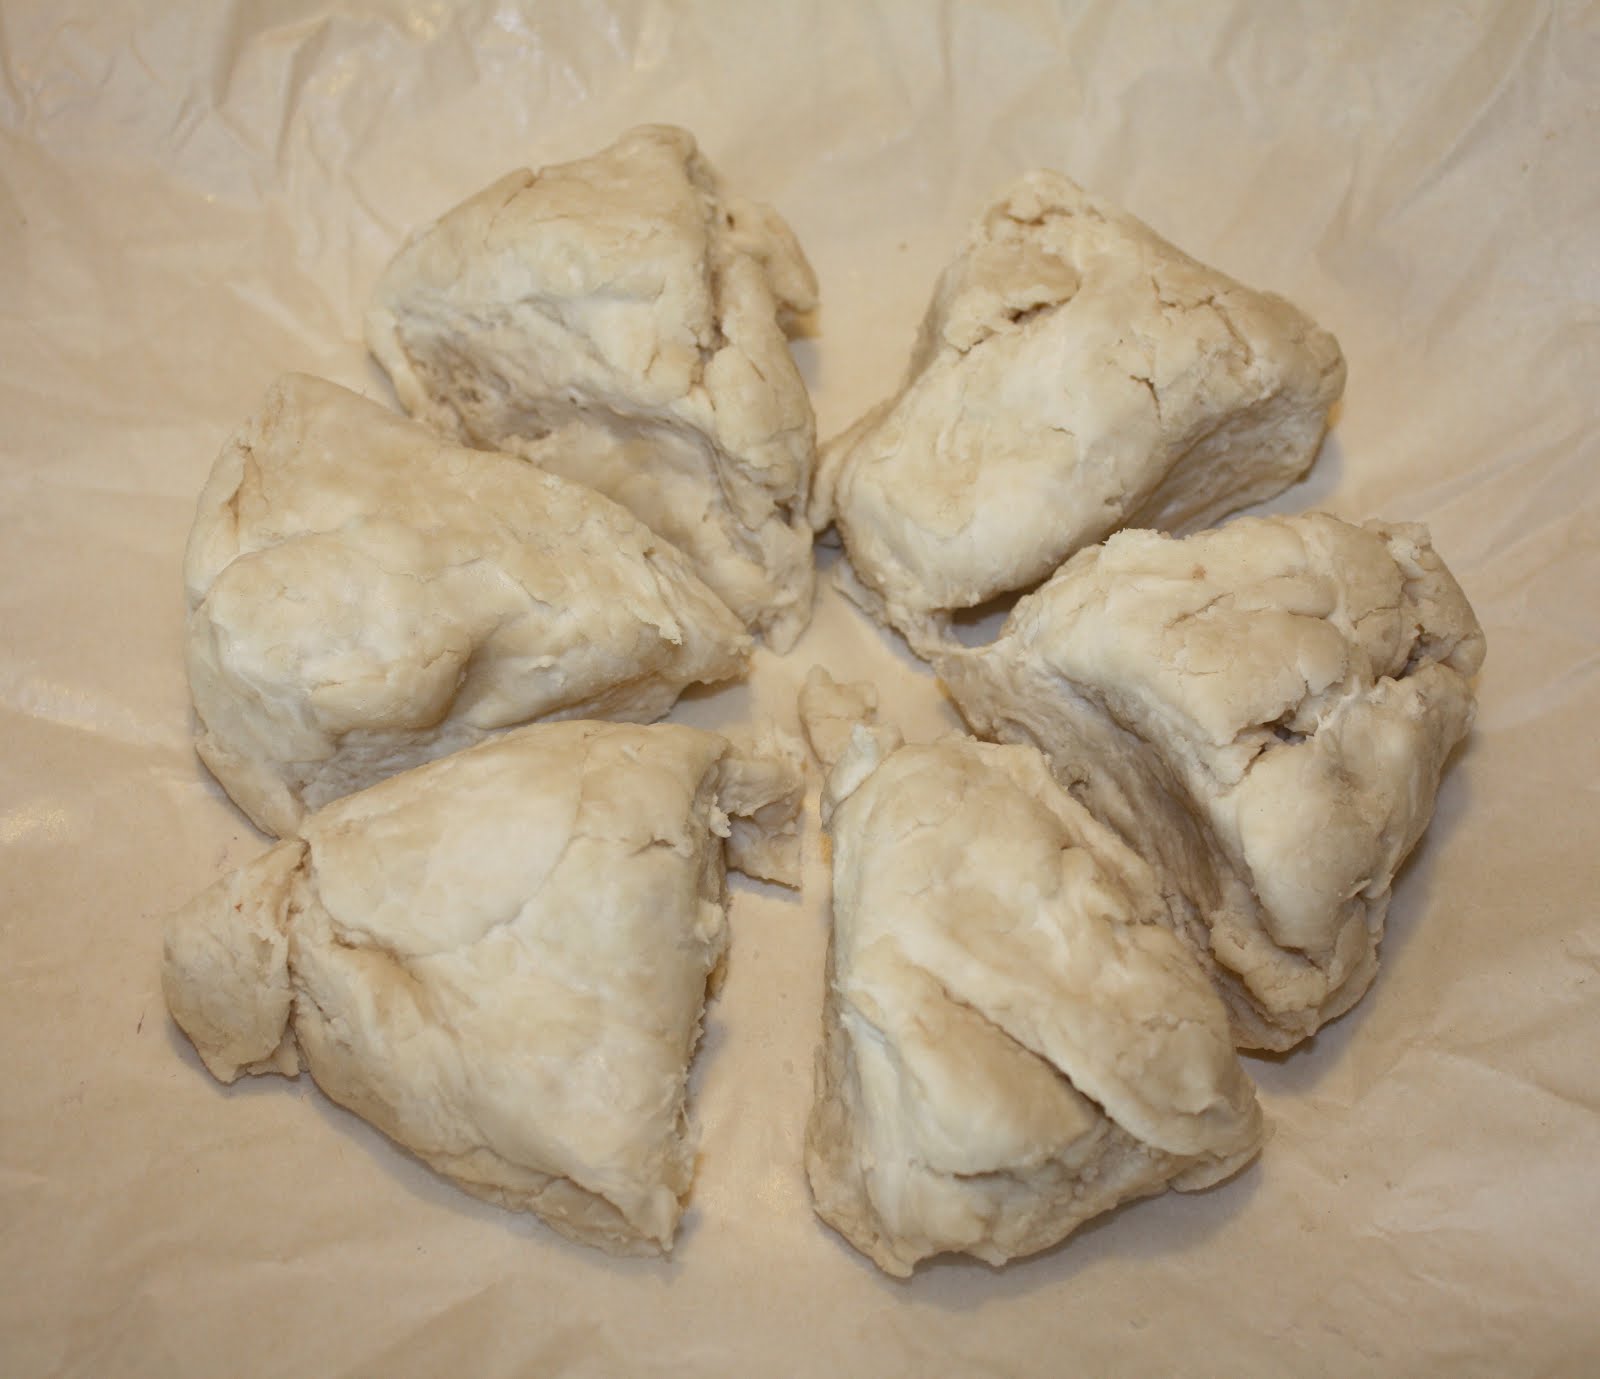
You'll need a pie crust. You can make your own or buy it ready made from the grocery store.  I'm including my recipe for pie crust.  It is simple to make and is light and flakey.  One recipe will make 6 individual "pastie pies".


Next you roll out the pie dough into 6" rounds and put a heaping cup full of the filling on half of the pastie.


Fold the pastie in half and crimp the edges, then prick the top with a fork to allow the steam to escape while it is baking.


Proceed in the same manner with all six of your "pies."  Brush an egg wash on each pie and the place in the oven to bake at 350 degrees for approximately an hour and 15 minutes.  The original recipe said to bake at 400 degrees for 45 minutes but I find that to be too hot of an oven temperature and with a lower temperature and longer baking time the vegetables cook more thoroughly.


I made a spinach/romaine salad with feta cheese and raspberries to go with our pasties.  And that was tonight's dinner.  And most importantly, the Mister liked it very much!
 
Pasties
Ingredients:
  • 3 1/2 cs all-purpose flour, sifted
  • 1 1/2 teaspoons salt
  • 1 cup shortening
  • 1 cup cold water
  • 1 pound round steak cut into 1 inch cubes
  • 2 potatoes, peeled and sliced
  • 1 onion chopped
  • 1/3 rutabaga sliced
  • 2 cloves of garlic
  • 1 carrot, chopped
  • chopped parsley
  • salt and pepper to taste
  • 6 tablespoons butter
Directions:
  1. In a large bowl,combine flour and salt.  Cut in shortening until mixture resembles coarse crumbs.  Stir in water until mixture forms a ball.  Shape into a ball, wrap in plasic wrap and refrigerate about 1 hour.
  2. Preheat oven to 350 derees F.  Line a baking sheet with parchment paper.
  3. In a large bowl, combine meat, potatoes, onion, rutabaga, garlic and chopped carrots.  Season well with salt and pepper.  Divide dough into six pieces and shape into balls.  On a lightly floured surface, roll each ball into a 6 inch round. Place 1 heaping cup of filling on one half of each round.  Dot each pie with 1 tablespoon of butter.  Fold the other half of the pastry over the filling and crimp the edges to seal. Prick with a fork.  Baste the top of each pie with an egg wash or milk and then place each pie onto the prepared baking sheet.
  4. Bake in preheated oven for an hour and 15 minutes or until a golden brown.
 
I'm happy to know that I won't have to try to figure out what to make for the Mister's lunchbox tomorrow.  He'll be taking one of the leftover meat pies for his lunch with some fruit.  I don't know about you, but I'm always glad when I know what will go in his lunchbox well in advance of 5:30 a.m. when I'm up and wandering mindlessly in the kitchen trying to come up with something to send in with him. 
 
Until next time,
 
Cheers!
 
Jennifer


Sunday, October 14, 2012

Pumpkin Spice Latte Ice cream and Snickerdoodles

One of my favorite things to grow in my garden are pumpkins. In previous years I've always grown the larger jack-o-lantern type of pumpkin. This year I grew the small "sugar sweet" variety, also known as pumpkin pie pumpkins. Is it cute? And the pumpkin inside is delicious and great to use in your favorite recipes calling for pumpkin puree.


Another favorite thing of mine in the fall is to sip a Pumpkin Spice Latte.   Mmmm...the taste reminds me of crisp autumn days, wearing a warm sweater and kicking through the colorful leaves.

Why not step up the Pumpkin Spice Latte and make it into ice cream?    Well, that is precisely what I did.   Presenting Pumpkin Spice Latte Ice Cream with a Snickerdoodle cookie on the side.


Homemade ice cream...creamy and rich made with cream, milk, eggs, pumpkin and spiced with cinnamon, nutmeg and clove. Ohhh so good!

When I make ice cream it is a two day process. I make the custard part the evening before and put it in a contaner in the refrigerator to cool completely overnight.   The next day the custard goes into the ice cream maker and churns into ice cream. You can eat it immediately like a soft serve ice cream or put it back into the freezer to harden up a bit more.
Here is the recipe. I know you'll want to try it:

Pumpkin Spice Latte Ice Cream

Ingredients:

2 cups heavy cream
1 cup whole milk
¾ cup sugar, divided
1¼ tsp. ground cinnamon
½ tsp. grated nutmeg
¼ tsp. ground ginger
Dash ground cloves
1 cup whole coffee beans
4 large egg yolks
1½ tbsp. espresso powder (optional)
1 cup pumpkin puree

Directions

  • In a saucepan over medium heat, combine the heavy cream, whole milk, ½ cup of the sugar, cinnamon, nutmeg, ginger, and cloves. Heat, stirring occasionally, until the sugar has melted and the mixture is warmed through. Stir in the coffee beans. Heat to just below a simmer, then remove from the heat, cover, and let steep for 1 hour.
  • In a medium bowl, whisk together the egg yolks and remaining ¼ cup of sugar. Return the saucepan to the stove over medium heat. Once the mixture is warmed through again, slowly pour a portion of the warm cream mixture into the bowl with the egg yolks, whisking constantly to prevent the eggs from curdling. Return the entire mixture to the saucepan and place over medium heat. Cook, stirring constantly and scraping the bottom of the pan, until the mixture thickens slightly and coats the back of a spoon (about 170˚-175˚ F). Pour the custard through the mesh strainer into a storage container, pressing on the coffee beans to extract as much liquid and flavor as possible. Stir in the espresso powder, if using, and mix until dissolved. Stir in the pumpkin puree. Let cool slightly, then cover and refrigerate until completely chilled.
  • Freeze in an ice cream maker according to the manufacturer’s instructions.

Recipe adapted from:  Annie's Eats


    And now for the Snickerdoodles! 

I could hardly believe it when I told the Mister that I was going to make a batch of Snickerdoodles to go with the Pumpkin Spice Latte ice cream he said to me,"What the heck is snockerdogles?" "SNICKERDOODLES, dear heart! Surely you've eaten snickerdoodles before!" He was neither impressed with their name nor did he show much interest in my making them for him. Not, that is, until he tasted one! THEN...I had to keep slapping his hand to get him out of the cookies and stop eating them before supper!

If you do not already have your own favorite recipe for Snickerdoodles then I encourage you to give this recipe a try.  These cookies turn out exactly as I remember them from my childhood.  Soft, buttery and cinnamon-y cookies that crack slightly on top.  I think the secret to the perfect cookie is chilling the dough AS WELL AS the cookie sheet before baking them. You'll be putting the cold dough and baking sheet into the hot oven and they'll bake perfectly without spreading out and getting too flat or thin.

Snickerdoodles:

Ingredients:
  • 1 cup butter
  • 1 1/2 cups sugar
  • 2 large eggs
  • 2 3/4 cups flour
  • 2 teaspoons cream of tartar
  • 1 teaspoon baking soda
  • 1/4 teaspoon salt
  • 3 tablespoons sugar
  • 3 teaspoons cinnamon
Directions:
  1. Preheat oven to 350 degrees F.
  2. Mix butter, 1 1/2 cups sugar and eggs thoroughly in a large bowl.
  3. Combine flour, cream of tartar, baking soda and salt in a separate bowl.
  4. Blend dry ingredients into butter mixture.
  5. Chill dough, and chill an ungreased cookie sheet for about 10 - 15 minutes in the refrigerator.
  6. Meanwhile, mix 3 tablespoons sugar and 3 teaspoons cinnamon in a small bowl.
  7. Drop 1 inch balls of dough into the cinnamon sugar mixture.
  8. Coat by gently rolling balls of dough in the cinnamon sugar mixture.
  9. Place on chilled ungreased cookie sheet and bake for 10 minutes.
  10. Remove from pan immediately and enjoy!
I hope you'll give the ice cream and cookies a try.  The pumpkin and cinnamon are a lovely combination of fall flavors that are just as tastey in a cold dessert as a hot one.

I'm sharing these recipes on homework HOMEWORK Inspiration board link party.

Until next time,
Cheers!
Jennifer

Saturday, October 13, 2012

Me, The Mister and "the girls"

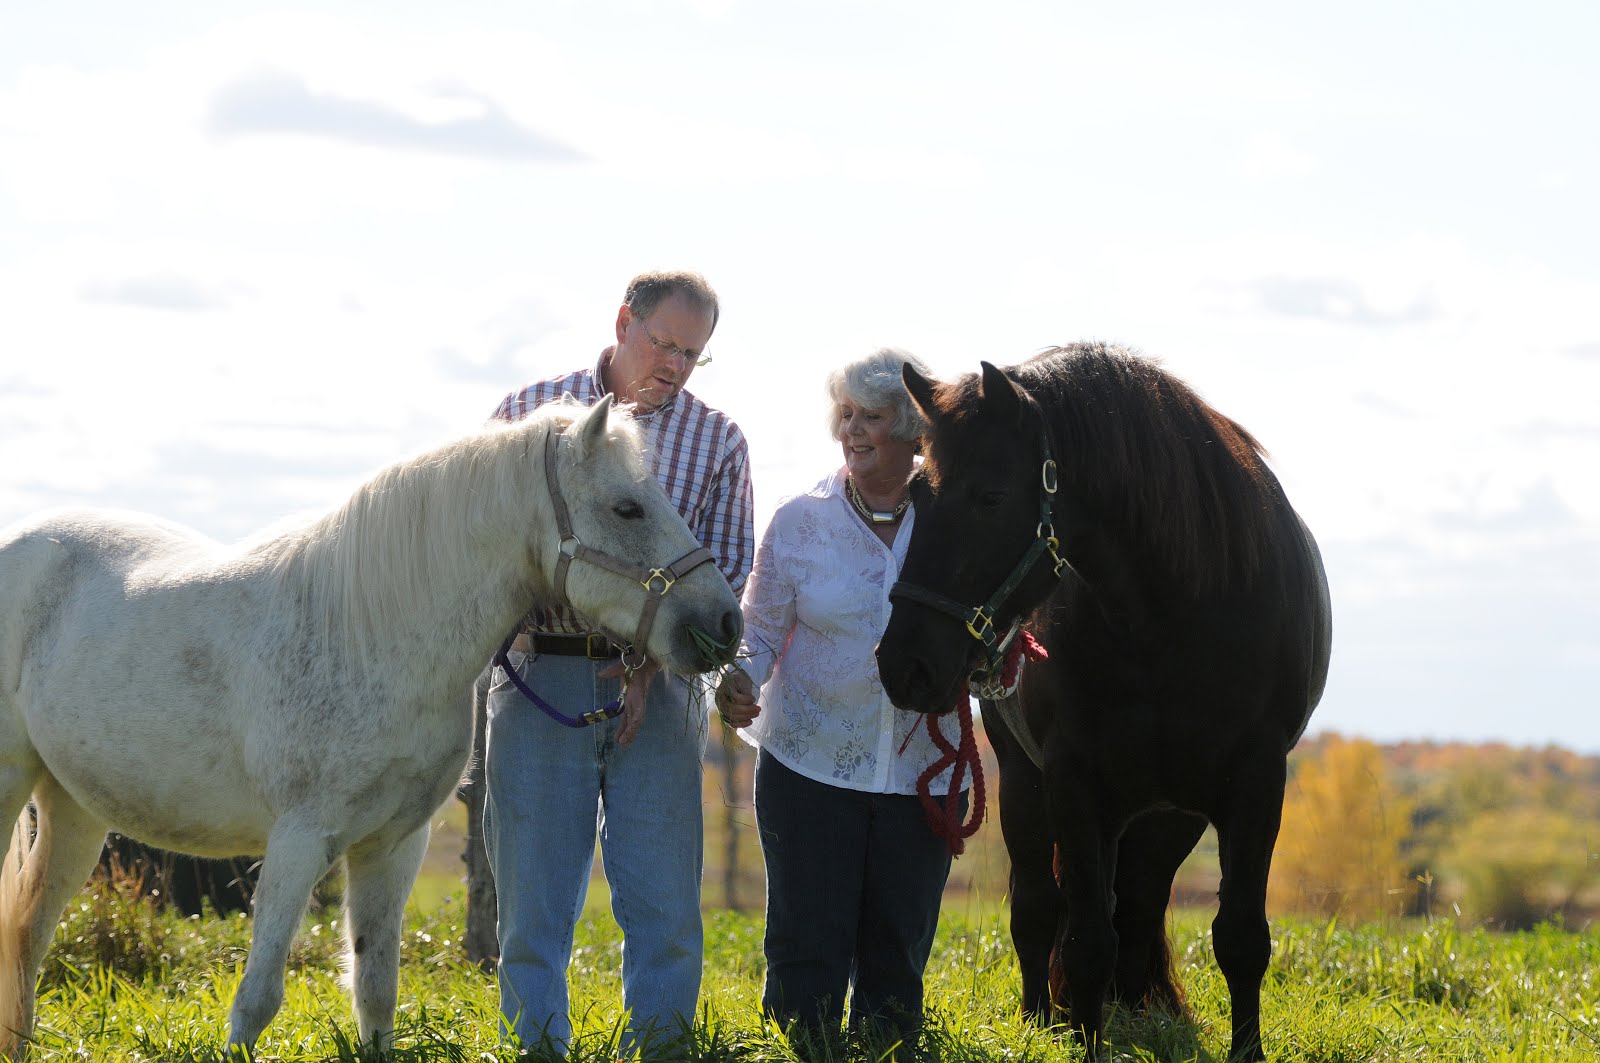
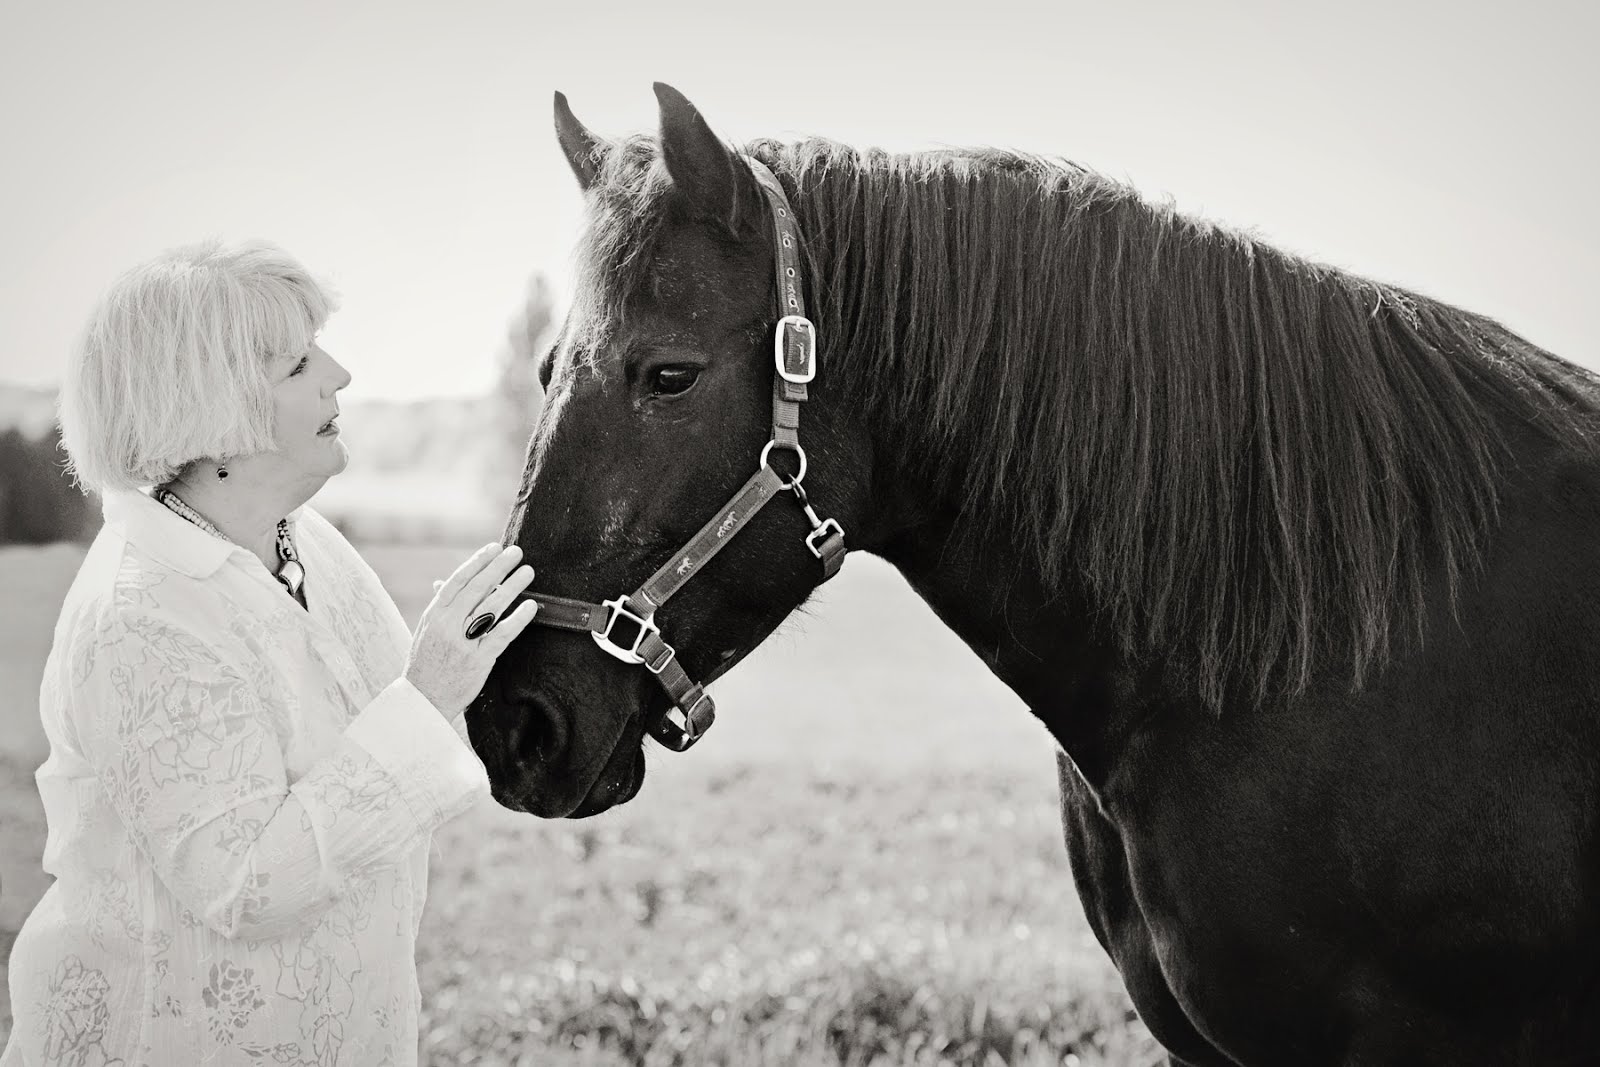
Hello my lovely friends!  This is the first time in the five years I've been blogging that an entire month has passed without a post from me. It's been a very busy time filled with garden harvesting, canning, cooking, and a wonderful visit from my mother. There was also 10 days worth of cold/flu that hit me hard (that was NOT fun.)   Anyway, I'm on the mend and want to share with you a fun time The Mister and I had with "the girls". (The girls = Gypsy, my Canadian mare and Vickey of Avalon, my Newfoundland pony (also known as Flower).  Last Monday, Thanksgiving Day here in Canada, we were delighted to have Stephanie Burns, the very talented photographer of In Frame Photography take our photos with "the girls."   The mister and I have never had our photos taken together before and everyone who knows me knows that I very, very rarely allow my photo to be taken.  But...what the heck.  We had a good time and are very happy with the pictures.  THANK YOU Stephanie!!  Here is a look at our day out at Cedar Ridge.


I want to mention that if you are in the Ottawa area and are looking for a fabulous photographer, be sure to look up Stephanie.  Her website IN FRAME PHOTOGRAPHY as well a her BLOG, in frame photography.
Until next time,
Cheers!
Jennifer