Thursday, October 25, 2012

Pasties!

Probably every country and culture has their own version of a hand held meat pie. It is said that long, long ago coal miner's wives made pasties for their husbands to take into the mine to eat. For tonight's dinner I made PASTIES which is a meat pie filled with beef, root vegetables to include potatoes, rutabaga, carrots, onion, a little garlic and parlsey.  A very simple yet filling meal contained within a flakey pie crust.


My mother used to make these.   Pasties fed our family of seven economically and were chalked full of nutrition.  There is not one set recipe for Pasties.  They can be made with lamb, pork, beef, chicken or even meatless, filling them with apples and root vegetables that you have on hand. 
 
Today I want to share a recipe for  beef and rutabaga and potato filled pasties.
 

The ingredients are simple and basic: an inexpensive cut of beef cut into small cubes, carrots, potatoes, onion, rutabaga and a couple of cloves of garlic.
 

Using my food processer, which makes preparing pasties ever so much simpler, I chopped the onion, carrots and garlic and then used the slicing blade to thinly slice the potato and rutabaga.
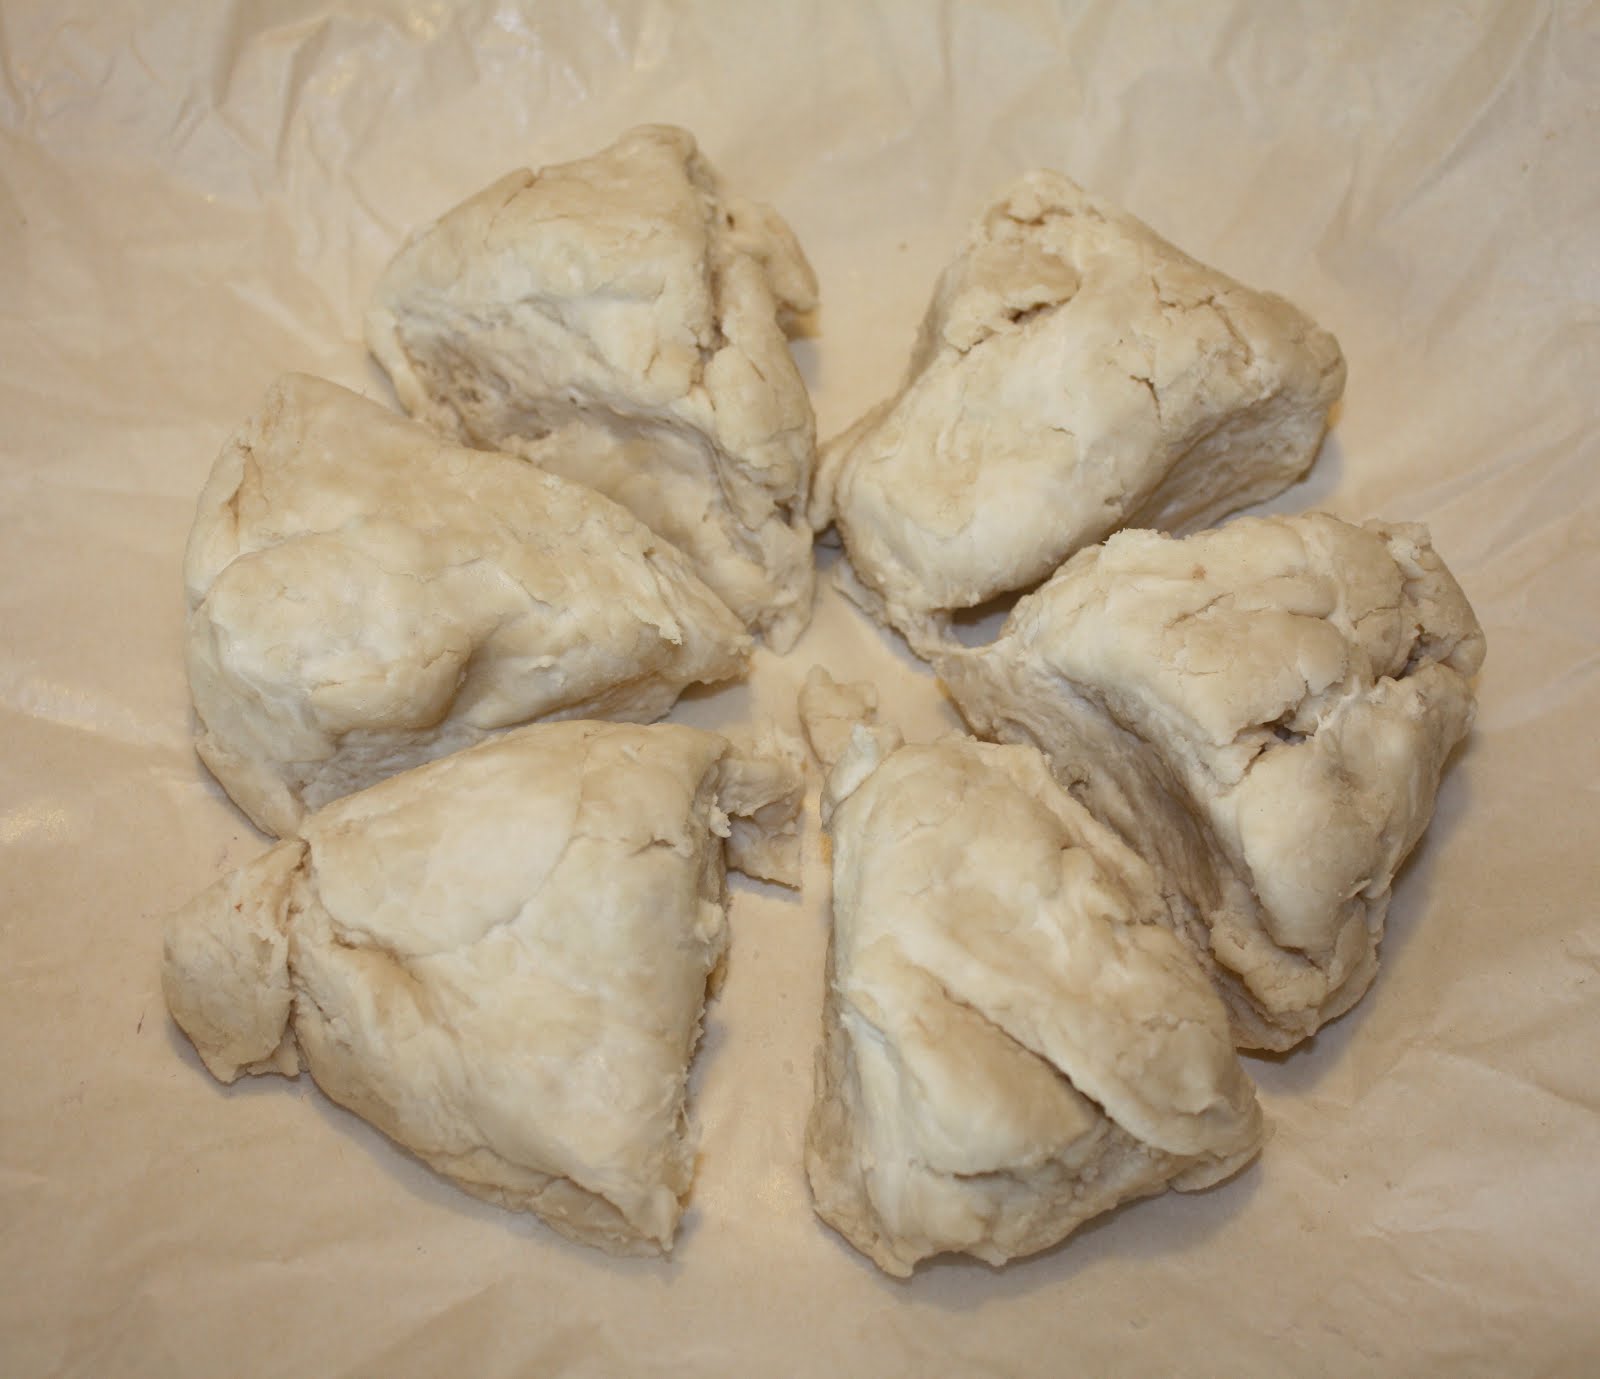

You'll need a pie crust. You can make your own or buy it ready made from the grocery store.  I'm including my recipe for pie crust.  It is simple to make and is light and flakey.  One recipe will make 6 individual "pastie pies".


Next you roll out the pie dough into 6" rounds and put a heaping cup full of the filling on half of the pastie.


Fold the pastie in half and crimp the edges, then prick the top with a fork to allow the steam to escape while it is baking.


Proceed in the same manner with all six of your "pies."  Brush an egg wash on each pie and the place in the oven to bake at 350 degrees for approximately an hour and 15 minutes.  The original recipe said to bake at 400 degrees for 45 minutes but I find that to be too hot of an oven temperature and with a lower temperature and longer baking time the vegetables cook more thoroughly.


I made a spinach/romaine salad with feta cheese and raspberries to go with our pasties.  And that was tonight's dinner.  And most importantly, the Mister liked it very much!
 
Pasties
Ingredients:
  • 3 1/2 cs all-purpose flour, sifted
  • 1 1/2 teaspoons salt
  • 1 cup shortening
  • 1 cup cold water
  • 1 pound round steak cut into 1 inch cubes
  • 2 potatoes, peeled and sliced
  • 1 onion chopped
  • 1/3 rutabaga sliced
  • 2 cloves of garlic
  • 1 carrot, chopped
  • chopped parsley
  • salt and pepper to taste
  • 6 tablespoons butter
Directions:
  1. In a large bowl,combine flour and salt.  Cut in shortening until mixture resembles coarse crumbs.  Stir in water until mixture forms a ball.  Shape into a ball, wrap in plasic wrap and refrigerate about 1 hour.
  2. Preheat oven to 350 derees F.  Line a baking sheet with parchment paper.
  3. In a large bowl, combine meat, potatoes, onion, rutabaga, garlic and chopped carrots.  Season well with salt and pepper.  Divide dough into six pieces and shape into balls.  On a lightly floured surface, roll each ball into a 6 inch round. Place 1 heaping cup of filling on one half of each round.  Dot each pie with 1 tablespoon of butter.  Fold the other half of the pastry over the filling and crimp the edges to seal. Prick with a fork.  Baste the top of each pie with an egg wash or milk and then place each pie onto the prepared baking sheet.
  4. Bake in preheated oven for an hour and 15 minutes or until a golden brown.
 
I'm happy to know that I won't have to try to figure out what to make for the Mister's lunchbox tomorrow.  He'll be taking one of the leftover meat pies for his lunch with some fruit.  I don't know about you, but I'm always glad when I know what will go in his lunchbox well in advance of 5:30 a.m. when I'm up and wandering mindlessly in the kitchen trying to come up with something to send in with him. 
 
Until next time,
 
Cheers!
 
Jennifer


Sunday, October 14, 2012

Pumpkin Spice Latte Ice cream and Snickerdoodles

One of my favorite things to grow in my garden are pumpkins. In previous years I've always grown the larger jack-o-lantern type of pumpkin. This year I grew the small "sugar sweet" variety, also known as pumpkin pie pumpkins. Is it cute? And the pumpkin inside is delicious and great to use in your favorite recipes calling for pumpkin puree.


Another favorite thing of mine in the fall is to sip a Pumpkin Spice Latte.   Mmmm...the taste reminds me of crisp autumn days, wearing a warm sweater and kicking through the colorful leaves.

Why not step up the Pumpkin Spice Latte and make it into ice cream?    Well, that is precisely what I did.   Presenting Pumpkin Spice Latte Ice Cream with a Snickerdoodle cookie on the side.


Homemade ice cream...creamy and rich made with cream, milk, eggs, pumpkin and spiced with cinnamon, nutmeg and clove. Ohhh so good!

When I make ice cream it is a two day process. I make the custard part the evening before and put it in a contaner in the refrigerator to cool completely overnight.   The next day the custard goes into the ice cream maker and churns into ice cream. You can eat it immediately like a soft serve ice cream or put it back into the freezer to harden up a bit more.
Here is the recipe. I know you'll want to try it:

Pumpkin Spice Latte Ice Cream

Ingredients:

2 cups heavy cream
1 cup whole milk
¾ cup sugar, divided
1¼ tsp. ground cinnamon
½ tsp. grated nutmeg
¼ tsp. ground ginger
Dash ground cloves
1 cup whole coffee beans
4 large egg yolks
1½ tbsp. espresso powder (optional)
1 cup pumpkin puree

Directions

  • In a saucepan over medium heat, combine the heavy cream, whole milk, ½ cup of the sugar, cinnamon, nutmeg, ginger, and cloves. Heat, stirring occasionally, until the sugar has melted and the mixture is warmed through. Stir in the coffee beans. Heat to just below a simmer, then remove from the heat, cover, and let steep for 1 hour.
  • In a medium bowl, whisk together the egg yolks and remaining ¼ cup of sugar. Return the saucepan to the stove over medium heat. Once the mixture is warmed through again, slowly pour a portion of the warm cream mixture into the bowl with the egg yolks, whisking constantly to prevent the eggs from curdling. Return the entire mixture to the saucepan and place over medium heat. Cook, stirring constantly and scraping the bottom of the pan, until the mixture thickens slightly and coats the back of a spoon (about 170˚-175˚ F). Pour the custard through the mesh strainer into a storage container, pressing on the coffee beans to extract as much liquid and flavor as possible. Stir in the espresso powder, if using, and mix until dissolved. Stir in the pumpkin puree. Let cool slightly, then cover and refrigerate until completely chilled.
  • Freeze in an ice cream maker according to the manufacturer’s instructions.

Recipe adapted from:  Annie's Eats


    And now for the Snickerdoodles

I could hardly believe it when I told the Mister that I was going to make a batch of Snickerdoodles to go with the Pumpkin Spice Latte ice cream he said to me,"What the heck is snockerdogles?" "SNICKERDOODLES, dear heart! Surely you've eaten snickerdoodles before!" He was neither impressed with their name nor did he show much interest in my making them for him. Not, that is, until he tasted one! THEN...I had to keep slapping his hand to get him out of the cookies and stop eating them before supper!

If you do not already have your own favorite recipe for Snickerdoodles then I encourage you to give this recipe a try.  These cookies turn out exactly as I remember them from my childhood.  Soft, buttery and cinnamon-y cookies that crack slightly on top.  I think the secret to the perfect cookie is chilling the dough AS WELL AS the cookie sheet before baking them. You'll be putting the cold dough and baking sheet into the hot oven and they'll bake perfectly without spreading out and getting too flat or thin.

Snickerdoodles:

Ingredients:
  • 1 cup butter
  • 1 1/2 cups sugar
  • 2 large eggs
  • 2 3/4 cups flour
  • 2 teaspoons cream of tartar
  • 1 teaspoon baking soda
  • 1/4 teaspoon salt
  • 3 tablespoons sugar
  • 3 teaspoons cinnamon
Directions:
  1. Preheat oven to 350 degrees F.
  2. Mix butter, 1 1/2 cups sugar and eggs thoroughly in a large bowl.
  3. Combine flour, cream of tartar, baking soda and salt in a separate bowl.
  4. Blend dry ingredients into butter mixture.
  5. Chill dough, and chill an ungreased cookie sheet for about 10 - 15 minutes in the refrigerator.
  6. Meanwhile, mix 3 tablespoons sugar and 3 teaspoons cinnamon in a small bowl.
  7. Drop 1 inch balls of dough into the cinnamon sugar mixture.
  8. Coat by gently rolling balls of dough in the cinnamon sugar mixture.
  9. Place on chilled ungreased cookie sheet and bake for 10 minutes.
  10. Remove from pan immediately and enjoy!
I hope you'll give the ice cream and cookies a try.  The pumpkin and cinnamon are a lovely combination of fall flavors that are just as tastey in a cold dessert as a hot one.

I'm sharing these recipes on homework HOMEWORK Inspiration board link party.

Until next time,
Cheers!
Jennifer

Saturday, October 13, 2012

Me, The Mister and "the girls"

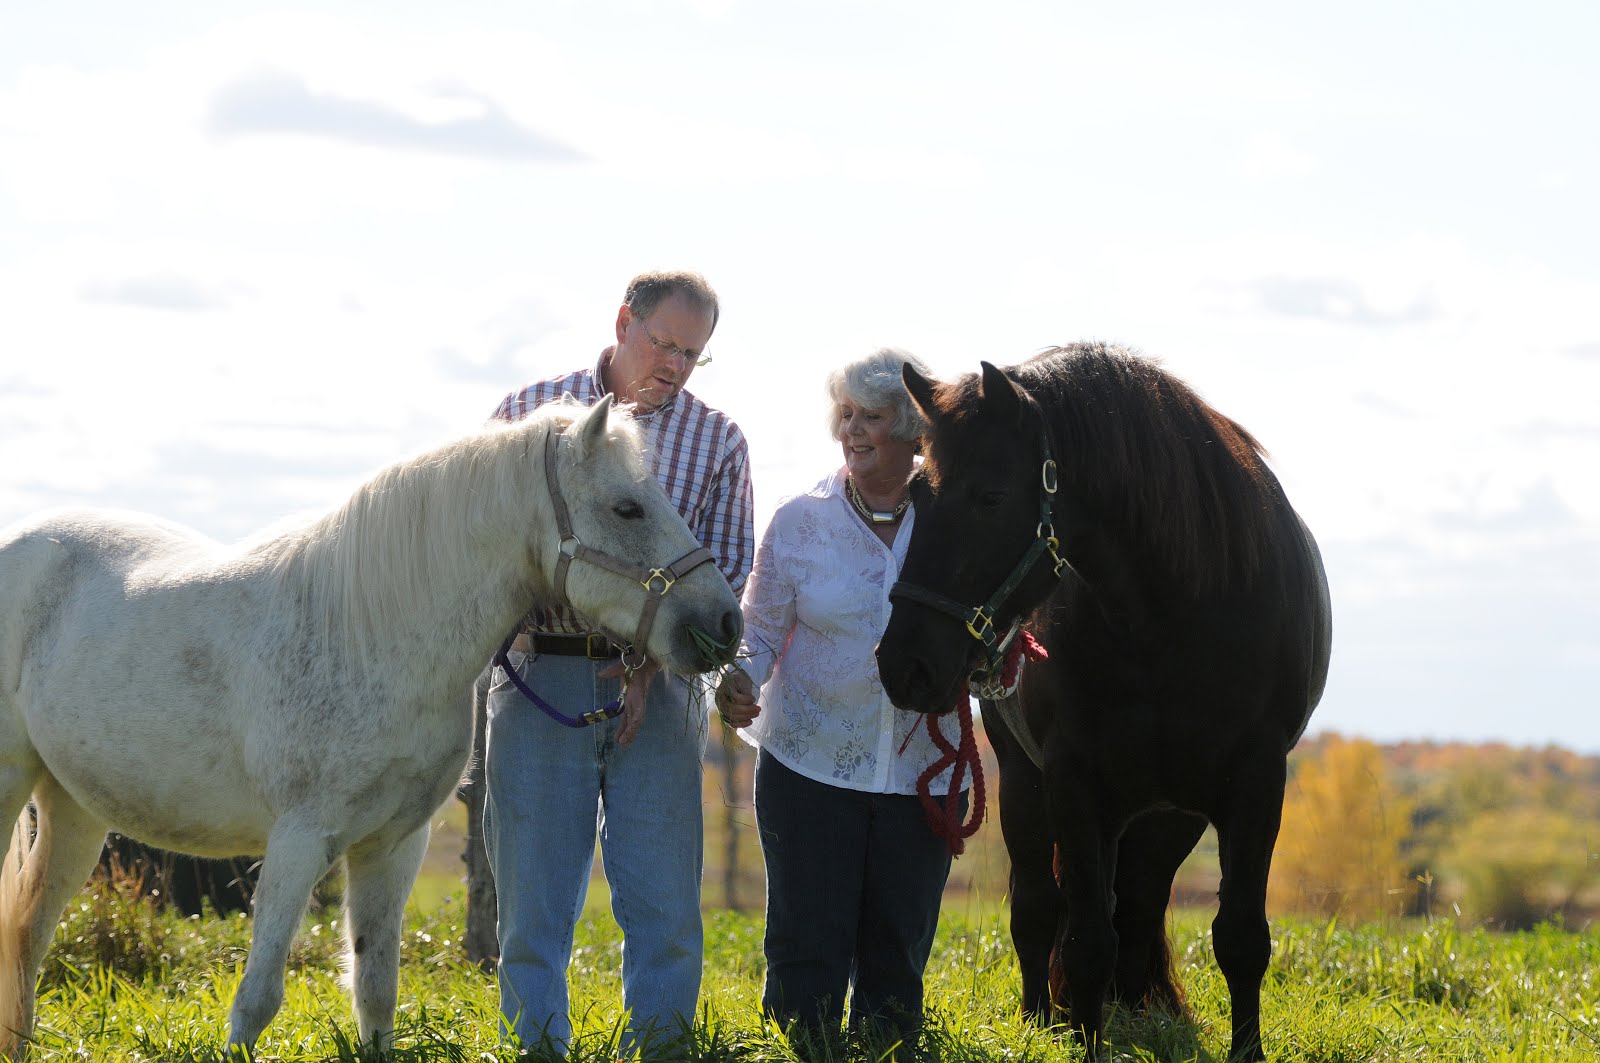
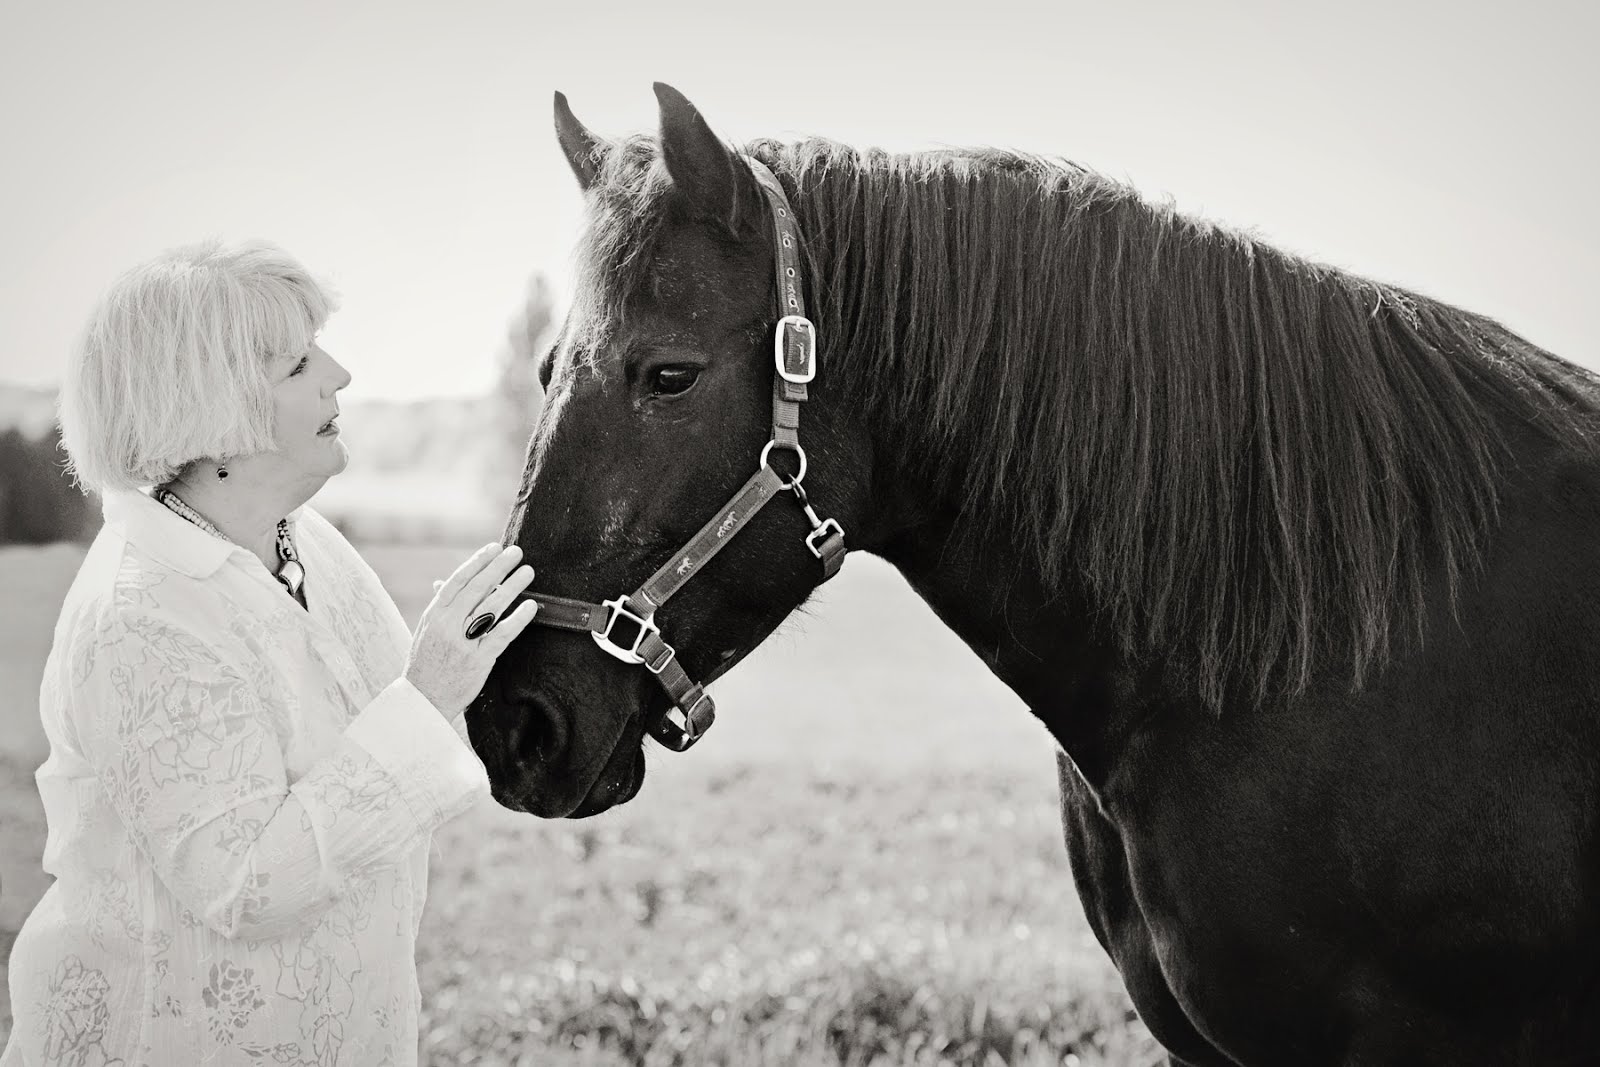
Hello my lovely friends!  This is the first time in the five years I've been blogging that an entire month has passed without a post from me. It's been a very busy time filled with garden harvesting, canning, cooking, and a wonderful visit from my mother. There was also 10 days worth of cold/flu that hit me hard (that was NOT fun.)   Anyway, I'm on the mend and want to share with you a fun time The Mister and I had with "the girls". (The girls = Gypsy, my Canadian mare and Vickey of Avalon, my Newfoundland pony (also known as Flower).  Last Monday, Thanksgiving Day here in Canada, we were delighted to have Stephanie Burns, the very talented photographer of In Frame Photography take our photos with "the girls."   The mister and I have never had our photos taken together before and everyone who knows me knows that I very, very rarely allow my photo to be taken.  But...what the heck.  We had a good time and are very happy with the pictures.  THANK YOU Stephanie!!  Here is a look at our day out at Cedar Ridge.


I want to mention that if you are in the Ottawa area and are looking for a fabulous photographer, be sure to look up Stephanie.  Her website IN FRAME PHOTOGRAPHY as well a her BLOG, in frame photography.
Until next time,
Cheers!
Jennifer

Thursday, September 13, 2012

Lavender, Lace and Lexicon


It's back to school time for children everywhere.  Time to pack up books and pencils and get ready to study the three R's: reading, writing and 'rithmatic.  Don't you just love the alliteration, despite the fact that "writing" and "arithmatic" don't begin with a "r"?


I have a little alliteration of my own with this post: the three "L's."  Lavender, lace and lexicon.  I love old books.   I love the changes in fonts and designs over the last 100+ years.  I love the yellowing pages.  I love seeing what people have written in their old books and also imagining who might have owned these books so long ago.


Do you know what a McGuffey's Reader is?  Here is a stack of the 4th, 5th and 6th McGuffey readers that are from my grandparent's day.  It is fun to see all of the funny little scribblings that children wrote in pencil in these books.  The bottom book in this stack is Chamber's Etymological Dictionary of the English Language."  I do cherish these old school books.


Whenever I'm at a flea market I always check to see if anyone has old books I might like.  The smaller stack on the left are three book from the turn of the century and are very old editions of Milton's Paradise Lost I  & II, a collection of Robert Louis Stevenson's Poems, as well as Stevenson's Kidnapped


The other day I decided that sitting in a bookshelf concealed by other books was hiding away some past history.  I wanted to enjoy the look, feel and connection to the past that they represent.  Also, I have a very large basket filled with lavender that I've dried from my garden, a lot of lace that needed to find a purpose, and this little school desk that could use some display interest.  So....I tied up a couple of stacks of old books with the lace and lavender and now can enjoy them all.  The idea to do this came from Angie at KNICK OF TIME.  I follow her on her blog as well as pinterest and etsy shops.  She has such fabulous ideas and special touches.


I doubt dogs were allowed in the classroom with the children but Miss Paige, one of my Newfoundland dogs, decided she needed to take a break from her studies while I was taking pictures.  Hmmm...sleeping in the classroom!  Is that allowed?  We'll make an exception for Paige.

I'm linking this post to Angie's blog Knick of Time for this week's Knick of Time Tuesday bloghop featuring bloggers creative ideas and projects featuring their vintage style treasure.  If you love creative vintage ideas, you'll want to check out KNICK OF TIME TUESDAY.


Until next time,
Cheers!
 
Jennifer

Tuesday, September 4, 2012

Peaches!

 
Peaches!  Yum!  I have two favorite fruits: pears and peaches! 


Yep!  Love 'em so much I even take pictures of them.
 

Sweet!  Juicy!  I want to eat them fresh all year long.  And peaches appear to be at their peak right now so I took advantage of the orchard's supply and decided to can some of them today. 


Don't they look like jars filled with gold?


I am dreaming of all the yummy ways I will use these peaches.  Peach pie, peach cobbler, peach smoothies, peaches with chicken or pork, peaches in salads, peaches in my yogurt, peaches and ice cream and best of all, a bowl of peaches...plain and simple.


I still had some peaches after I had jarred up some so I decide to use the remaining ones is PEACH BARBEQUE SAUCE.   Oh yaaaaahhhhhhhh...now we're talkin' sister!

 
This peach barbeque sauce is filled with yummy peaches, garlic, honey, peppers from my garden, some red pepper flakes for an added kick and lots of good things.

 
I like this recipe because you can adjust the amounts for the number of peaches you have.  I knew I didn't need too many jars of Peach Barbeque sauce so this small batch recipe fit the bill using the remaining peaches.  And is it good?  Oh yes!  It does have a bit of a kick to it but the sweetness of the peaches and honey balances out well with the garlic and red pepper flakes.  I think it is going to be delcious served with chicken, fish, ribs, and on burgers. 
 
 
Zesty Peach Barbecue Sauce
 
(This is the half batch recipe amounts and will make about 4 (8 0z.) half pints.  Recipe from Ball Canning and Preserving)
  •  3 cups finely chopped pitted and peeled peaches (about 1 1/2 labs or 5 medium)
  • 1/2 cup finely chopped and seeded bell pepper
  • 1/2 cup finely chopped onion
  • 1 1/2  Tblsp. finely chopped garlic
  • 2/3 cup honey
  • 1/3 cup cider vinegar
  • 1 1/2 tsp. Worcestershire sauce
  • 1 tsp hot pepper flakes
  • 1 tsp dry mustard
  • 1 tsp salt
  • 4 (8 oz.) half pint glass preserving jars with lids and bands
Directions:
  1. Prepare boiling water canner.  Heat jars and lids in simmering water until ready for use.  Do not boil.  Set bands aside
  2. Combine all ingredients in a large saucepan.  Bring to a boil.  Reduce heat and simmer, stirring frequently, until mixture thhickens to the consistency of a thin commercial barbeque sauce (about 25 minutes)
  3. Ladle hot sauce into hot jars leaving 1/2 inch headspace.  Remove air bubbles.  Wipe rims.  Center hot lid on jar and apply the band and adjust until fit is ginertip tight.
  4. Process in a boiling water canner for 15 minutes, adjusting for altitude.  Remove jars and cool.  Check lids for seal after 24 hours. 
 
I may have to go back to the orchard and get some more peaches.  They are just too nice this year not to take advantage of the flavor and supply.
 
Until next time,
Cheers!
 
Jennifer


Sunday, September 2, 2012

What's under the cake dome Sunday # 8

If it's Sunday then it must be "What's under the cake dome Sunday". This week I made a Cinnamon Roll Dutch Apple Pie because the Mister's very, very, VERY favorite pie is apple. And he likes his apple pie a specific way and that is with a lot of apples and a lot of cinnamon.

 
I decided to make the Mister's apple pie a bit different though. 
Cinnamon Roll Dutch Apple Pie
 
 
Recently, I have been seeing this apple pie recipe all of Pinterest and the internet.  Yes!  The crust is made with cinnamon rolls!  And look!  Can you see the icing drizzled over the crumb top of the pie? 
 
 
I checked the internet for a recipe and sure enough, Pillsbury has a recipe for Cinnamon Roll Dutch Apple Pie.  I made a couple of changes to their recipe and then set out making my own.
 
 
First you will peel and core 5 or 6 large granny Smith apples.  I just love my apple peeler.  At this time of the year when I'm making a lot of apple pies and apple sauce the handy-dandy peeler is worth its weight in gold and makes peeling and coring apples a breeze!
 
 
Next, in a small bowl mix the crumb topping and then put it in the refrigerator until you are ready to top the pie with it.

 
In a large bowl mix your sliced up apples with the filling.
 

Now you will separate the cinnamon rolls and roll them out into about 4 inch rounds and smoosh them down in your pie plate, sealing the edges together and up the sides of the pie dish.  Hmmm...I really need to get myself a prettier pie plate, don't you think?


Now pile on the apples and filling, heaping them high.

 
Get the crumb topping you made previously out of the refrigerator and sprinkle it over the apples.  Now it is time to pop this lovely pie into the oven for an hour at 350 degrees (F).  Your kitchen is going to have the most delicious aroma of cinnamon and apples.  MMmmmmm!
 

And now for the last step, grab a fork and dig in!
 
 
CINNAMON ROLL DUTCH APPLE PIE
 
Topping:
  •  1 cup all-purpose flour
  •  1 cup packed brown sugar
  • 1/2 cup butter, softened
Crust:   1 can (12.4 oz) of refrigerated cinnamon rolls with icing
 
Filling:
  • 5 or 6 Granny Smith apples, sliced very thin
  • 1/2 cup granulated sugar
  • 2 Tblsp. all-purpose flour
  • 1 tsp. cinnamon
  • 1/2 teaspoon nutmeg
  • 1/4 tsp salt
  • 2 Tblsp. lemon juice
  1. Heat oven to 350 degrees F.  In a medium sized bowl mix the crumb topping ingredient with a fork until large clumps form.  Place in refrigerator until ready to use.
  2. Separate cinnamon roll dough into individual rolls and with a lightly floured rolling pin roll each cinnamon roll into a 4 inch round
  3. In an ungreased 9-inch pie plate, place 1dough round in the center and then arrange the remaining dough rounds around the center and up the side s of the plate, overlapping slightly and pinching the edges to seal in the bottom and up the sides to form a crust.
  4. In a large bowl, mix the filling ingredients.  Spoon the filling into the cinnamon roll lined pie plate and springle the top with the crumb mixture covering the top of the pie completely.
  5. Bake in 350 degree oven for about 1 hour or until the top is golden brown and the apples are tender.  Cool on a cooling rack at least 1 hour.
  6. Before serving, heat in microwave the small container of icing for a few seconds until it is runny enough to drizzle over the top of the pie.
 
ENJOY!
 
Until next time,
Cheers!
 
Jennifer